

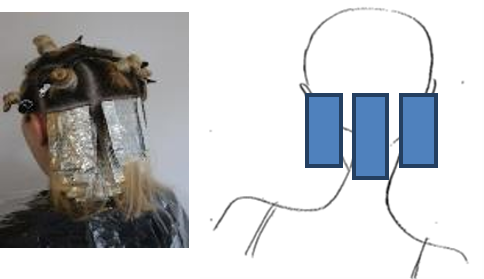
Before the colour the hair is sectioned into nine. Two sections at the centre of the back, two sections either side behind the ear, one section just above the ear and a section equally place through the natural parting.
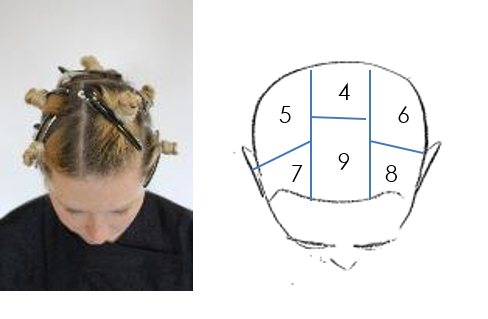
If the parting is naturally worn on the side, the top section would still sit equal sides of the parting. The other sections would elongate or shorten to sit neatly alongside.
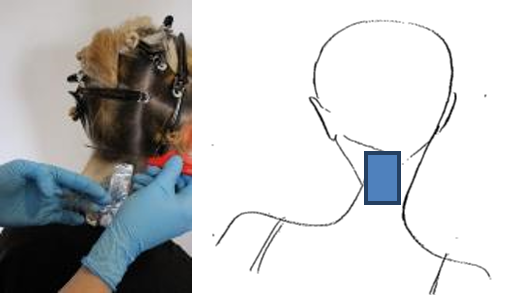
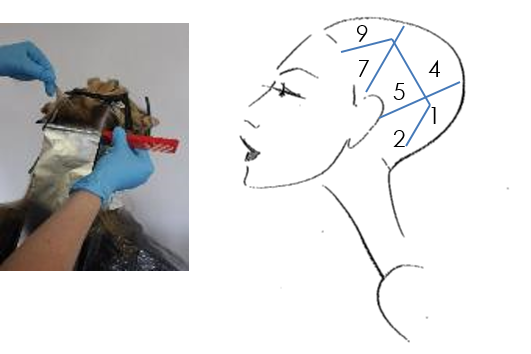
Starting at the nape at the back centre section, a slice of hair is taken by running a pin tail comb closely along the scalp and lifted up away from the rest of the hair.
From that slice the hair is then evenly woven using the tail of your comb. The size of the weave will be dependent on the hair texture, density and desired result.
A fine weave will create a natural effect, a thicker weave will create a more noticeable effect.
The unwoven hair drops and remains left out in between the packets for a natural finish.

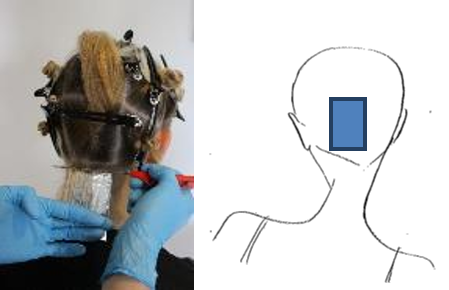
A foil or meche is then placed under the weave with the tail of the comb or with your hand. The chosen colour is then applied at the root area, leaving a small gap for expansion during development. Then using the remaining colour on the brush, the product is applied to the mid lengths or ends if required.
Using the comb, the foil is then folded in half, then at each side to secure the packet during development.
Be aware that too much flattening may result in product seepage.
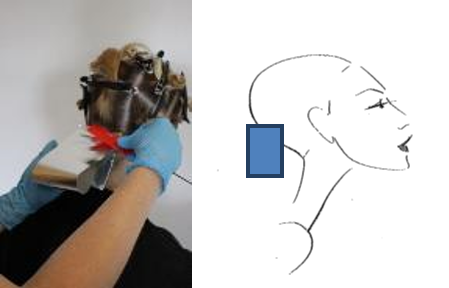
Once section one is complete move on to the bottom side sections, again starting at the nape and working up.
Continue using same method through to sections four, five and six until the back section is complete.

Move now to section seven and eight above each ear starting at the bottom of the section and working up.