Below Shoulder
Round Brush Blow-dry step by step
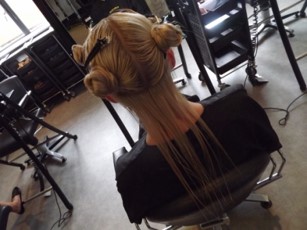
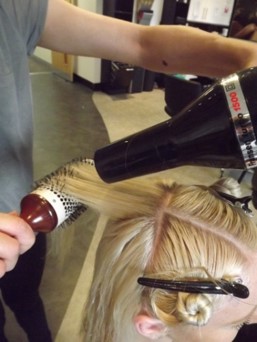
Take a profile section from parting down to the centre of the nape followed by a section ear to ear creating four sections. Clip the front two sections neatly avoiding leaving hair over the clients face.

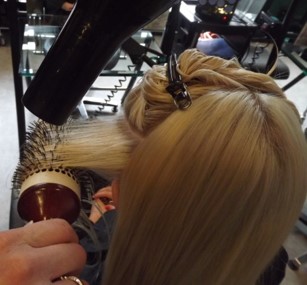
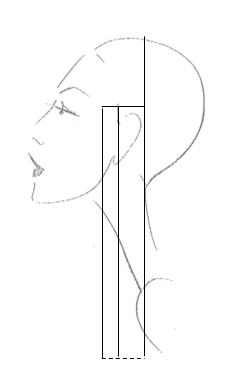
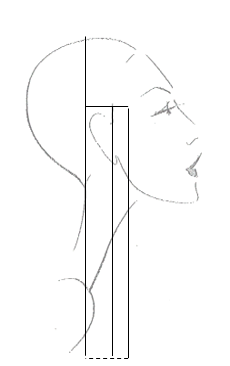
Start at the nape take a section no bigger than the width of the brush creating a V shape section (see diagram)


Using correct degree of tension, angle and using the brush and drier correctly dry the section until the hair is 100% dry.
Please note – this blow-dry will achieve a smooth flat finish. Is body is required the angle of the section when blow-dried will alter.

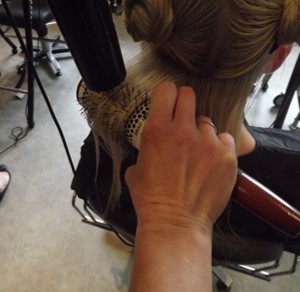
Follow this section pattern through to the top. It is important not to lay the wet hair onto the dry hair and only pick up sections the size of the brush. This will mean separating section into sub sections.

Once the back is completely dry move onto the sides. Take a horizontal section above the ear and continue blow-drying the same as the back, working up to the parting.
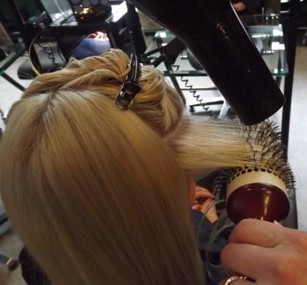
Repeat on the other side completing the blow-dry